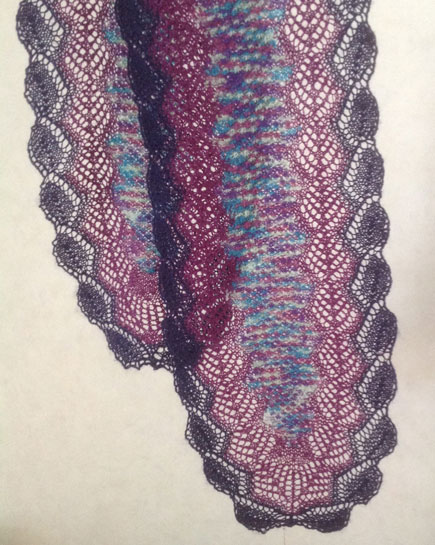
In 2001 while teaching in Canada at Muskoka National Park, I accidently discovered that it was possible to control the position of colour in a scarf I was knitting. I was using size 2.75mm needles and Artisan Lace Merino dyed in the Pansy colourway which goes from a strong yellow through red to navy. As the yellow was at the centre and the navy on the sides I named it Muskoka Sunset to celebrate the amazing sunsets we were experiencing in that inspiring location.
Needless to say I received many requests for the “secret” and you can learn how I achieved this in Controlling Colour Movement
Choosing the right stitch
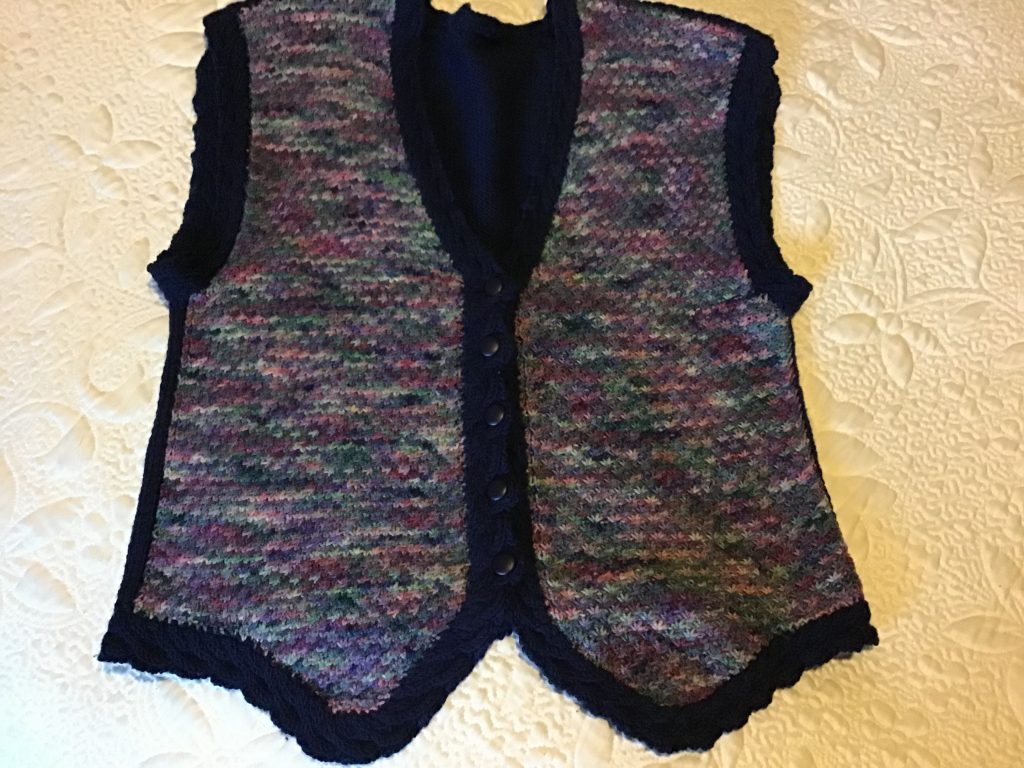
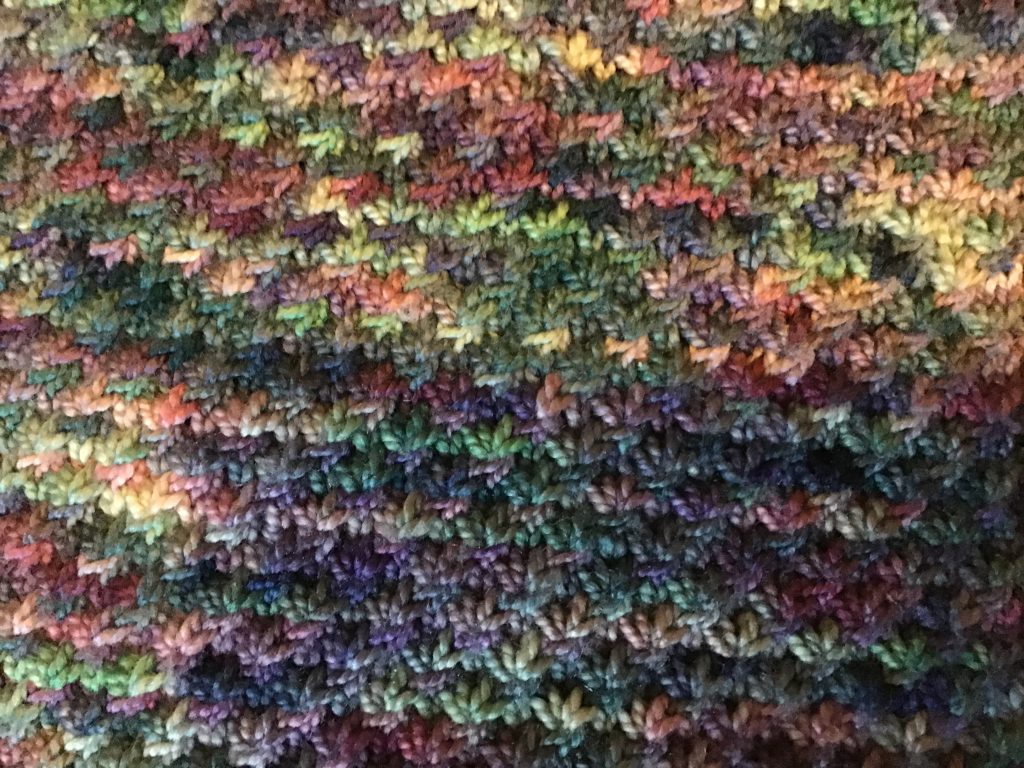
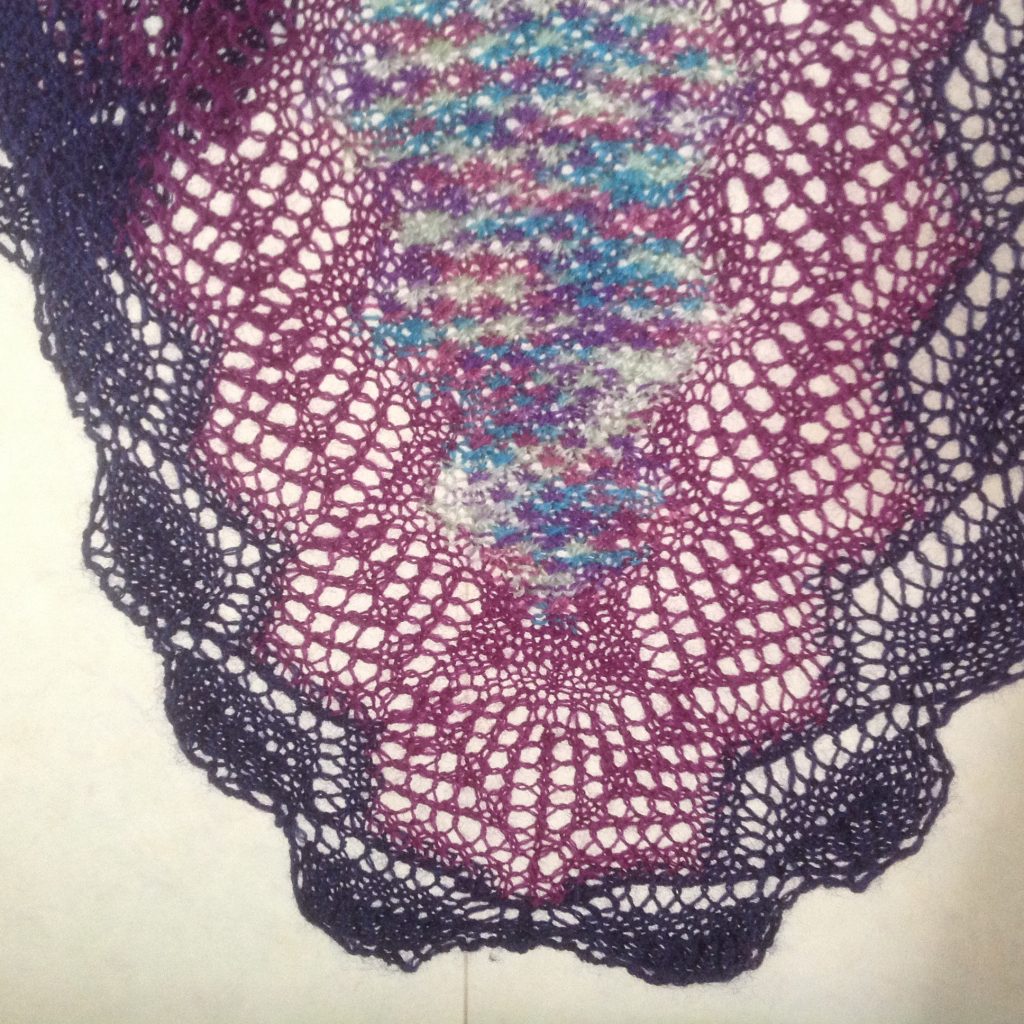
Later in that same visit I went on to buy two skeins of Koigu hand dyed wool which I used to make a vest. The colour sequence for this yarn was completely different so I chose a stitch from Barbara Walker’s “Second Treasury of Knitting Patterns” called ‘Daisy Stitch’. This stitch featured clusters of stitches which resulted in smudges of colour creating an effect that reminded me of Monet’s Water Lilies paintings. I have found this and similar stitch combinations, especially those with multiple wraps, work well to create colour movement with multicolour yarns.
Designing for the colour
When working with yarns spun from dyed fibre where the colour changes will be far more random and of varying lengths, another technique which works well is to design individual sections which can be knitted together. An example of a design where this has been used is in Bracken Fern.

Experimenting with techniques

I have also experimented with entrelac and was surprised at how a change in needle size could give such very different results. I am sure there are many more ‘what if’s’ to explore and share.
Using plain colour to space
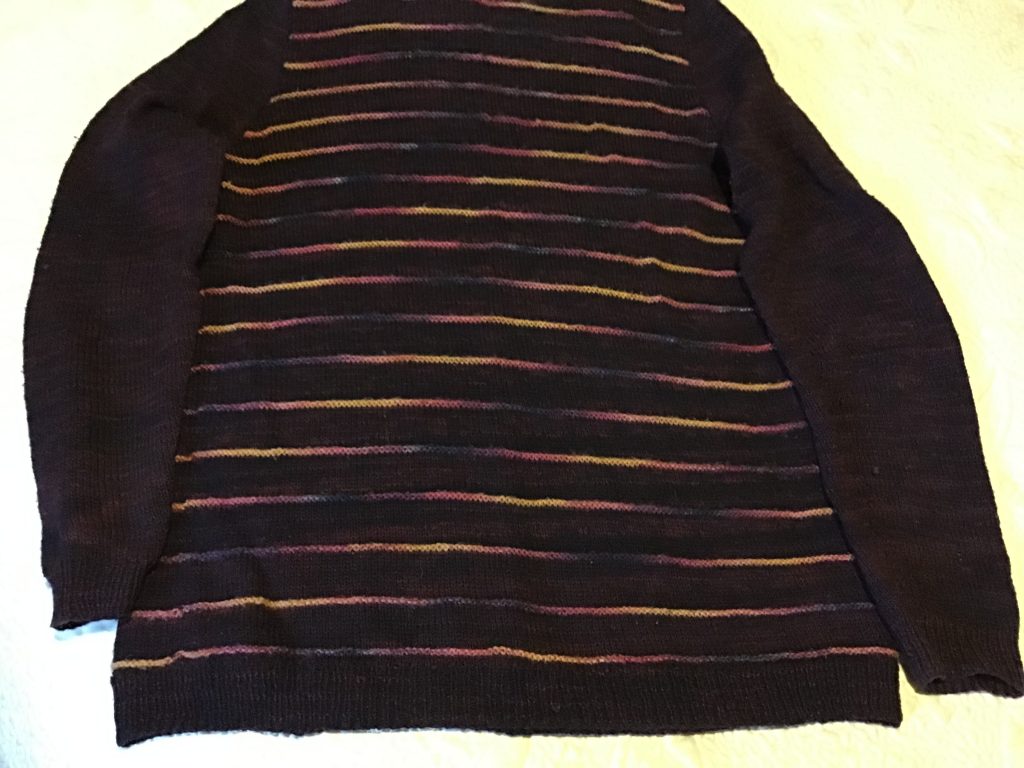
Spacing the multicoloured yarn with a plain colour also gives a pleasing effect and a jersey I knitted recently serendipitously allowed the colours to match over two rows. However, when it came to the armhole shaping it was necessary to waste some yarn to continue keeping the sequence so I decided to knit the sleeves in the plain colour only.
Intarsia lace
Intarsia enabled me to use a multi-coloured yarn for the ‘mossy path’ in the scarf Evening Bush Walk and the leaves and fern are in plain colours.

Alpine Sunset
This leads me to my latest really exciting challenge, ‘Alpine Sunset’!
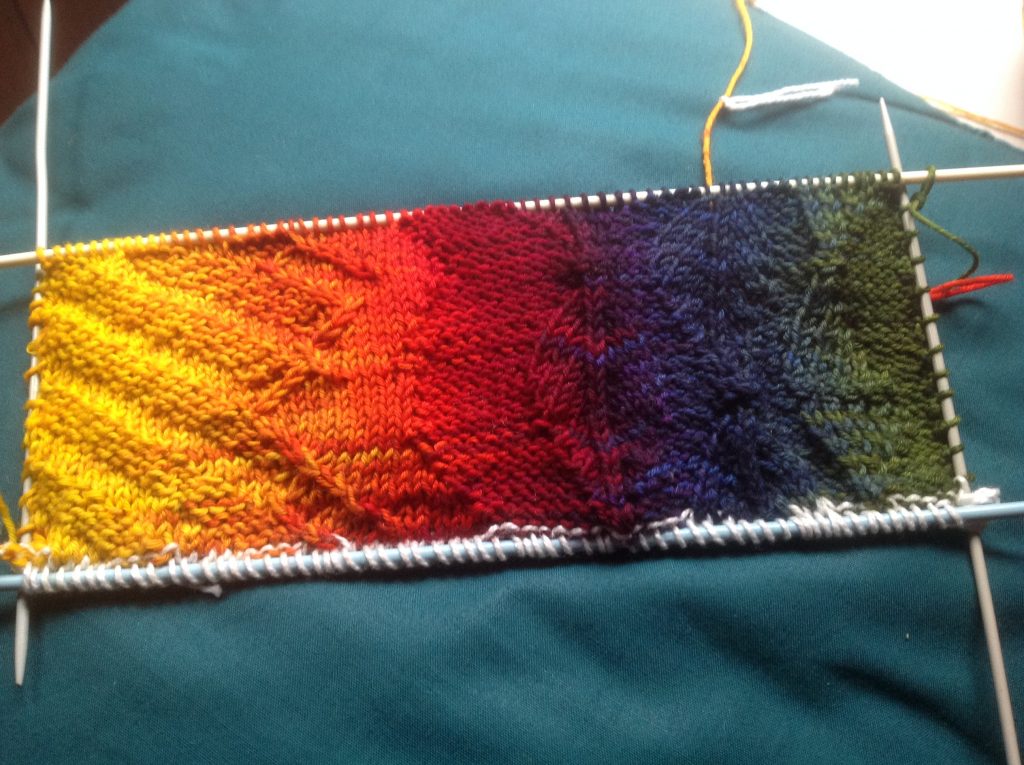
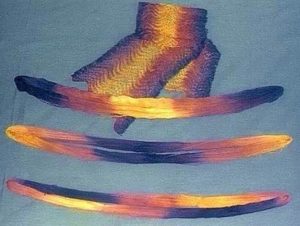
At Wool Feast in Christchurch in 2017 I spotted a skein of Rohrspatz Wollemeise. It was called Regenbogen and was a sequence of really strong colours from dark green to a bright yellow. I had the skein hanging on my pin board for almost a year before I finally knew what I wanted to make with it. I drew up a design which would be knitted sideways to make a lower border for a jacket.
Next came the translation of the drawing to a pattern I could knit. The first stage was to draw it onto a piece of graph paper and then work out how many stitches I would have to work with. I followed the procedure described above for the ‘Muskoka Sunset’ scarf and realised I would need to simplify the original concept to the very basic shapes. Then it was a case of trying various techniques with each of the elements to get the definition I needed, fit them into the correct colour and also keep the balance of the sizes of each element in relation to each other.
On this occasion I used texture to define the design although I did use some lace techniques to achieve this by hiding the ‘holes’ by knitting into the backs of those stitches on the return rows.
I discovered a bonus for working out the amount of yarn I needed was that before the skein was wound I could count the number of ‘turns’ in the skein. One for each row! I also made a slip knot marker which I could slide along the yarn to where the row would end which helped to keep me on track and my tension consistent. The ‘bleeding’ of the colours enhanced the design as there were no hard edges.
I chose a dark blue Wollemeise called Moses for the body of the jacket which features the textured fern motif to represent the night sky.
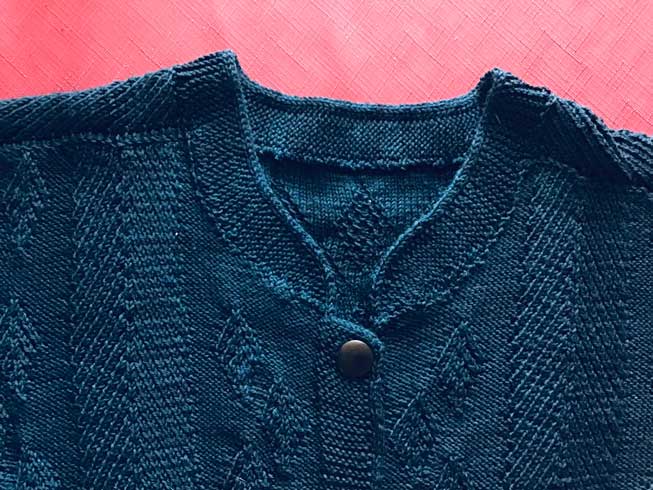
Detail of completed neckline 
Close up of sleeves 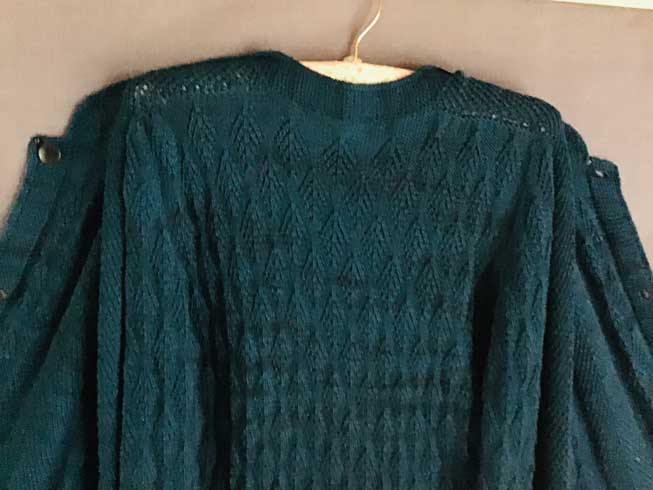
Close up on back/ shoulder detail 
Detail of Alpine Sunset border in completed garment 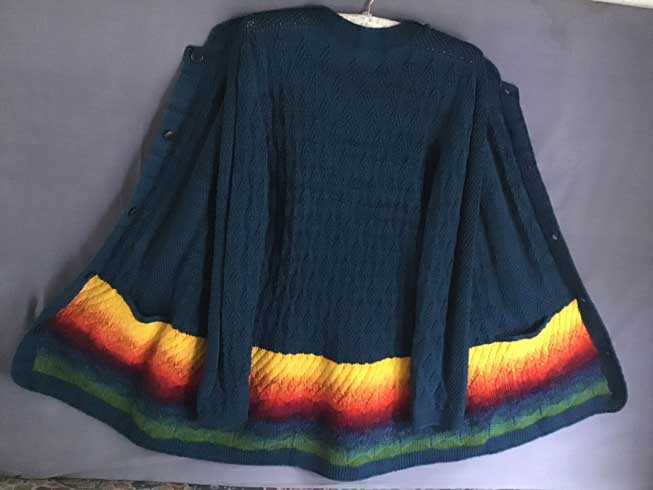
Completed Alpine Sunset jacket
Intriguing possibilities
I can see possibilities in using this technique with self dyed yarn by working out a design and knitting it in a plain base yarn for a pattern sequence, then painting it with a cold batch dye. It can the be unravelled to work out the areas for each colour and then wound and dyed to suit. The quantity can also be assessed from the gauge set in the sample pattern.
I am sure this is only the beginning of a wondrous and exciting colour adventure. Enjoy!
Patterns
The patterns discussed in this post are in the process of being developed for publication. If you would like be notified when they are available please contact us.
The pattern for Evening Bush Walk is being sold as a fundraiser and is available from the Christchurch Guild of Weavers and Spinners.

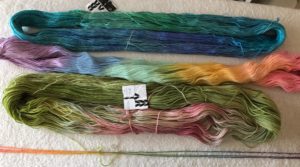
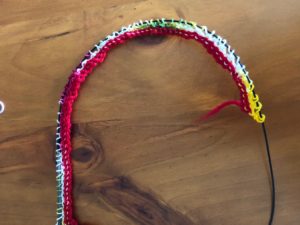
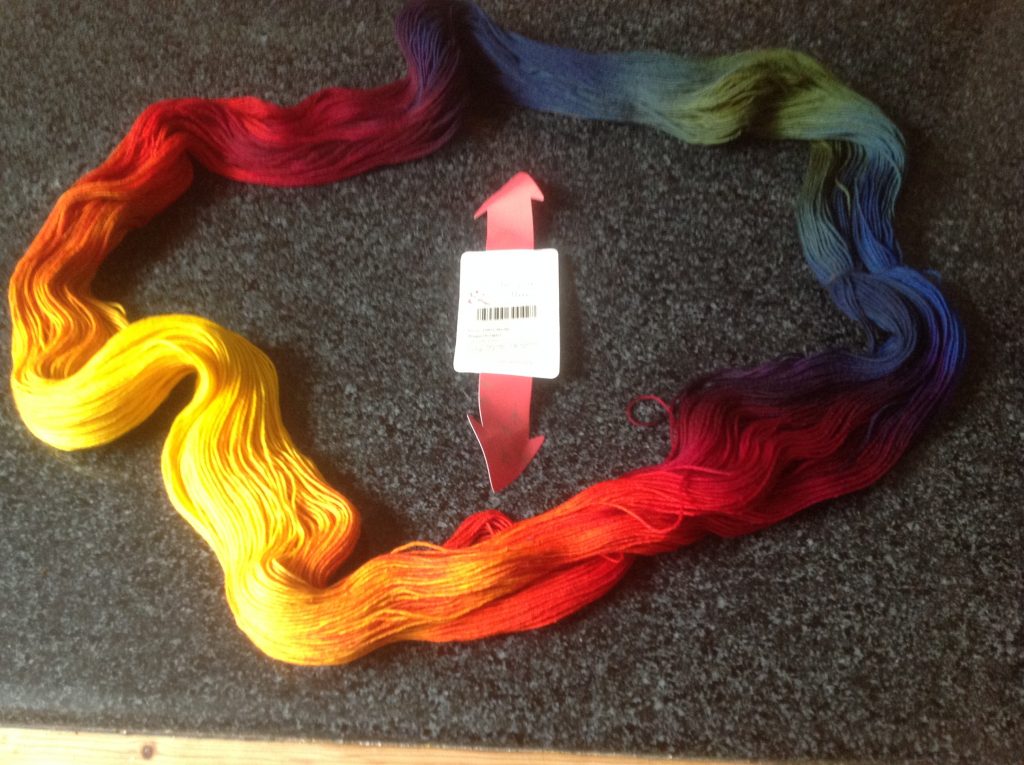
 I have a skein of Wollmeise Daisy which is a classic example of this technique – you can seem the clean blocks of colour and symmetry even in the skien. It was wound up for socks I was knitting but out of curiosity I pulled out the centre and laid it out in its repeat. I thought I would try an inch or so of Trellis Lace, one of Margaret’s simple scarf patterns, as a demonstration. If you are going to choose a project to try this make it simple as the main focus is the colour.
 Once I established the skein repeat I played with it a little bit to get the sequence I liked. This colour way is symmetrical and I went with yellow-white-green-white-pink-white-green-white- yellow.
 I did a provisional crochet cast on for about 70 stitches on a 4mm – if you are trying this go for a longer cast on than I did, maybe 80-85 in 4 ply. You don’t have to use all the stitches but is annoying if you run out. The provisional crochet cast on I used was